
1. What you need
| Item | Requirement |
|---|---|
| PHP | 8.3 or newer (8.3, 8.4, 8.5) |
| Database | MySQL 5.7+ / 8.x or MariaDB 10.4+ |
| PHP extensions | pdo_mysql, mbstring, openssl, tokenizer, xml, dom, ctype, json, curl, fileinfo, bcmath, gd, zip (intl recommended) — enabled by default on most hosts |
| Web server | Apache with mod_rewrite (cPanel default), LiteSpeed or Nginx |
| SSL | Recommended — payment gateways and the mobile apps need https:// |
From the download you only upload the upload folder. The other folders are for you:
2. Create the database
- Open MySQL® Databases
cPanel → Databases → MySQL® Databases. - Create a new database
Type a name, e.g.tbooking. cPanel adds your account prefix, e.g.cpuser_tbooking. - Create a database user
Under MySQL Users type a username and a strong password. Write both down. - Add the user to the database
Under Add User To Database choose the user and the database → ALL PRIVILEGES → Make Changes.
You now have four values for the installer: host (localhost), database name, username and password.
3. Upload the files
- Zip the contents of
upload
Open theuploadfolder, select everything inside it (including.htaccessand.env.example) and compress it to a ZIP. (Or upload the whole download ZIP and move the files after extracting.) - Upload
cPanel → File Manager → your domain's folder (usuallypublic_html, or the folder of a subdomain) → Upload the ZIP. - Extract
Right-click the ZIP → Extract. The folder must now containapp,public,vendor,.htaccess,.env.example… directly — not inside another folder. - Show hidden files
File Manager → Settings → Show Hidden Files (dotfiles), and check that.htaccessis there.
The whole site lives in one folder. The included .htaccess serves only the public folder to visitors, so .env, source code and uploads can never be opened from a browser.
4. Select PHP 8.3
- Open MultiPHP Manager (or Select PHP Version on CloudLinux hosts).
- Tick your domain → choose PHP 8.3 (or newer) → Apply.
Do this after uploading. cPanel stores the PHP version inside .htaccess; uploading T Booking replaces that file, so the domain can fall back to an older PHP. If you ever see “PHP 8.3 or newer is required”, select PHP 8.3 again.
5. Run the web installer
Open your domain in the browser (e.g. https://booking.example.com). The installer opens automatically.
- Requirements
The installer checks PHP, extensions and folder permissions. Everything must be green; then press Continue.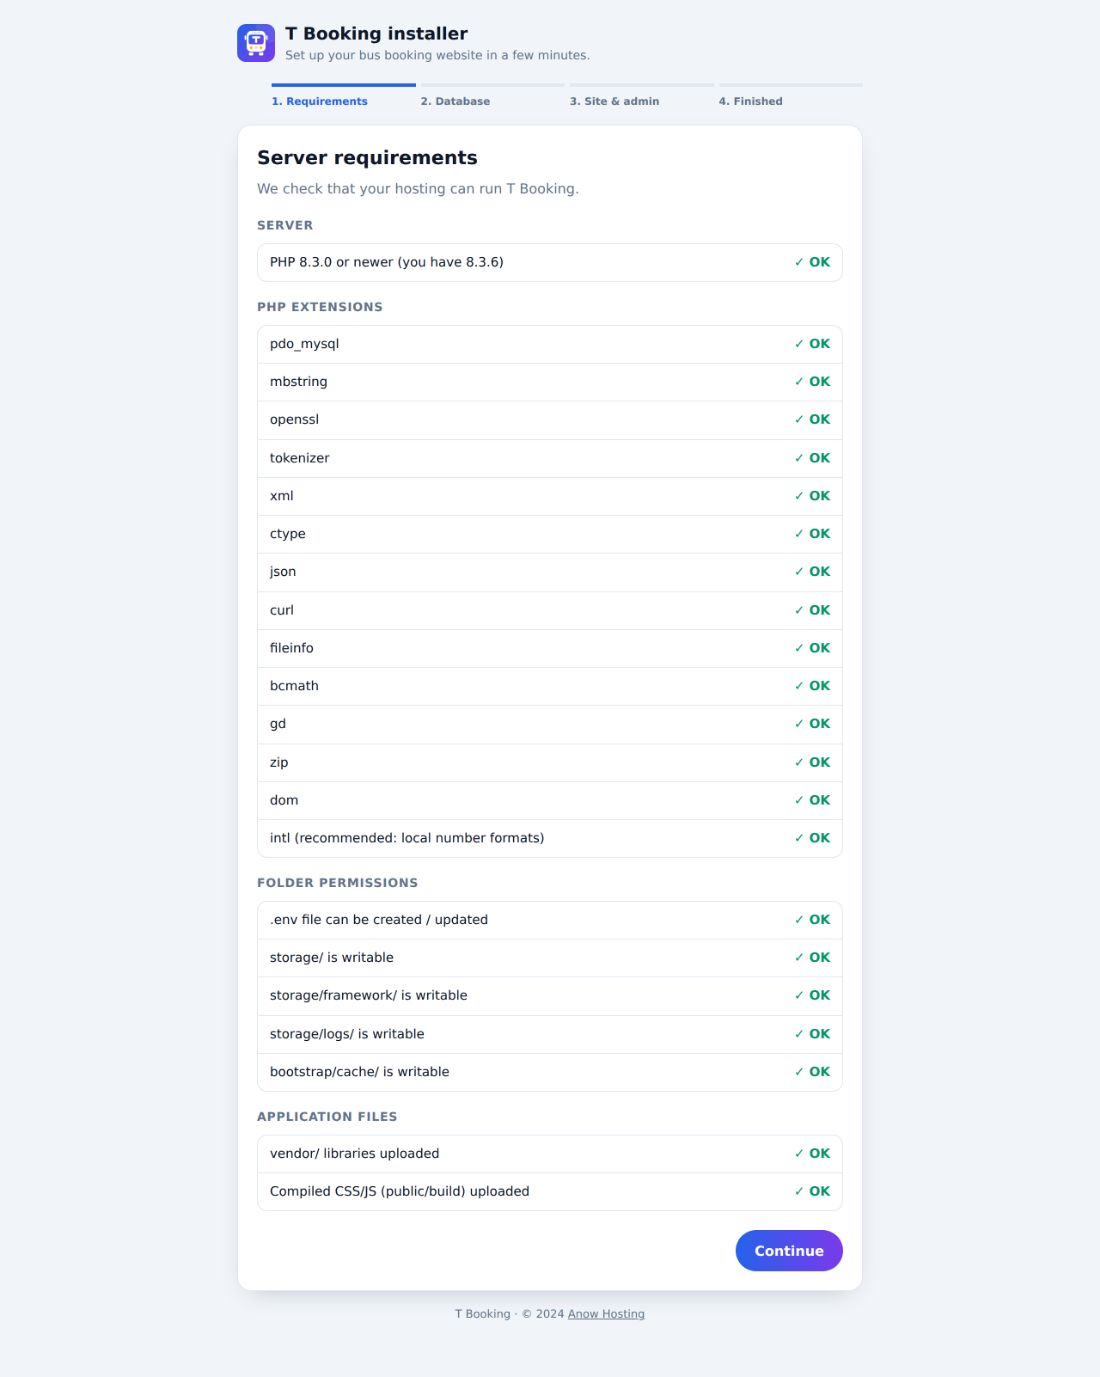
Step 1 — requirements check - Database
Enter hostlocalhost, the database name, username and password from part 2. Keep New installation selected and press Test connection & continue.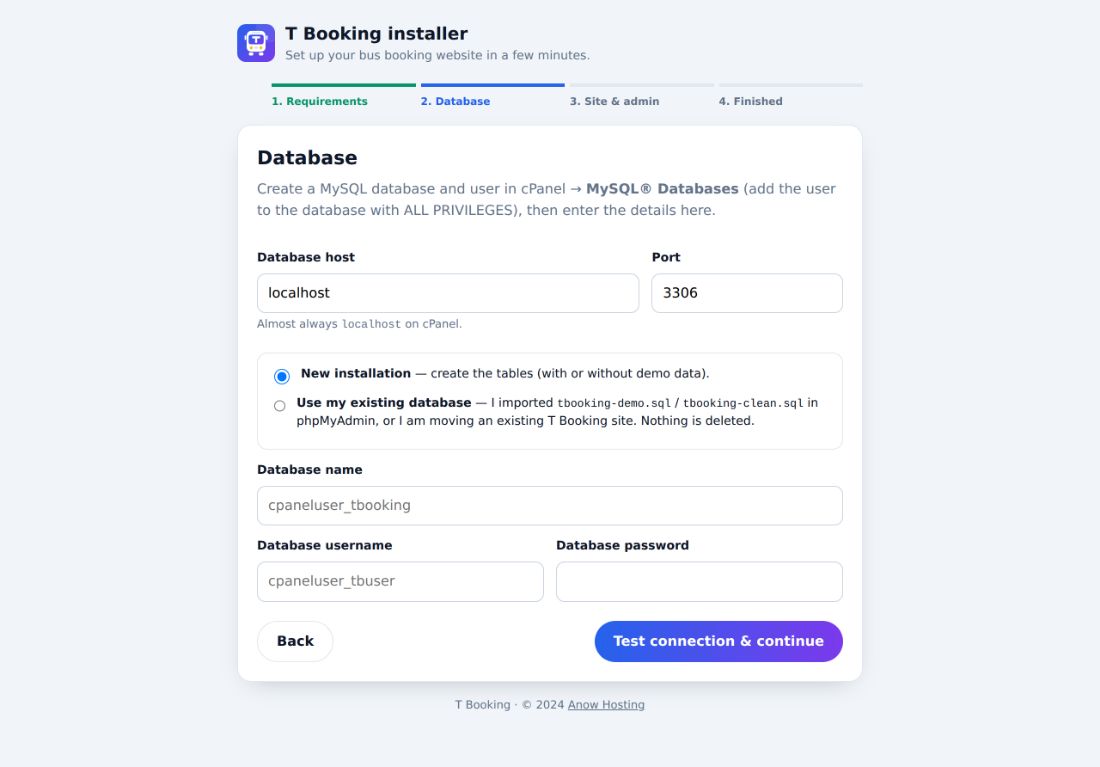
Step 2 — database details Chose “Use my existing database” by mistake on an empty database? No problem — the installer notices the database is empty and simply installs into it. If the database already contains T Booking (imported SQL file), it is connected and kept.
- Site & admin
Website name, website address (detected automatically — usehttps://if you have SSL), and your administrator name, e-mail and password. Tick Import demo data for a first look with sample buses, routes, trips and bookings, or leave it unticked for a clean site. Press Install.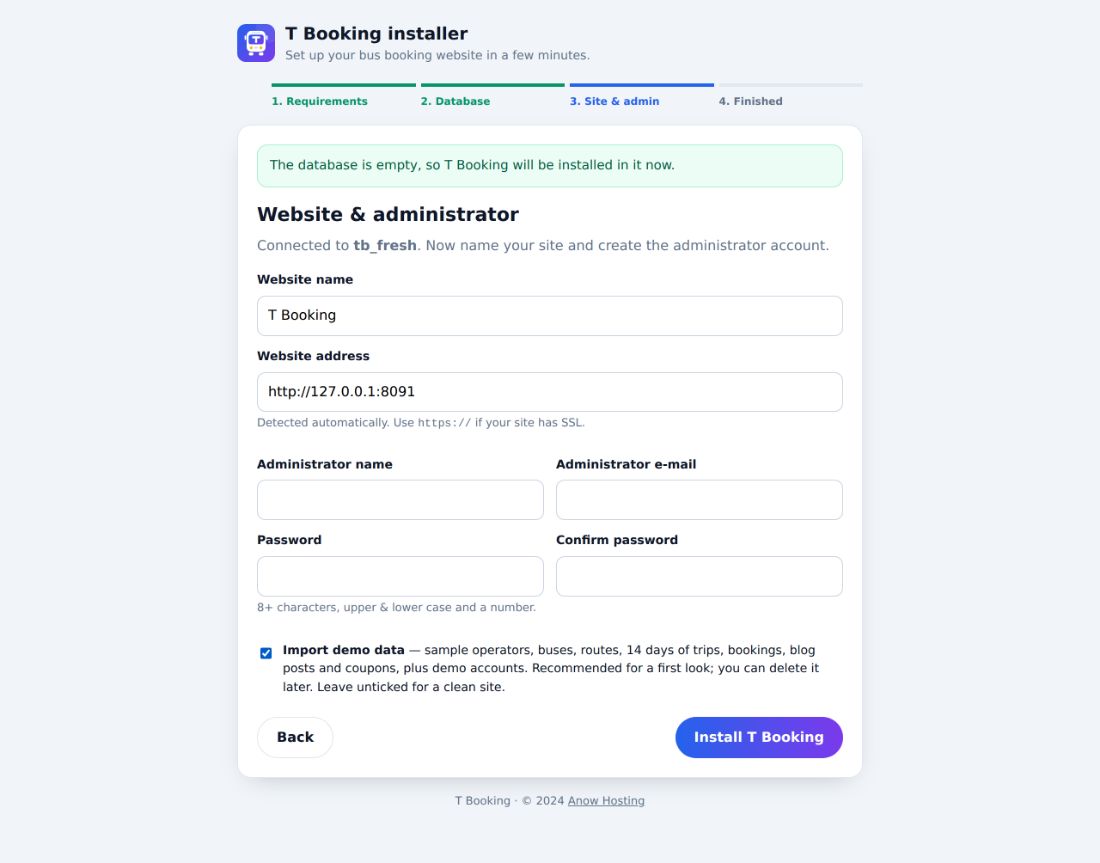
Step 3 — site and administrator - Finished
The installer runs each task step by step (this works on hosts that stop long PHP requests) and then locks itself. You get the links to your website and admin panel.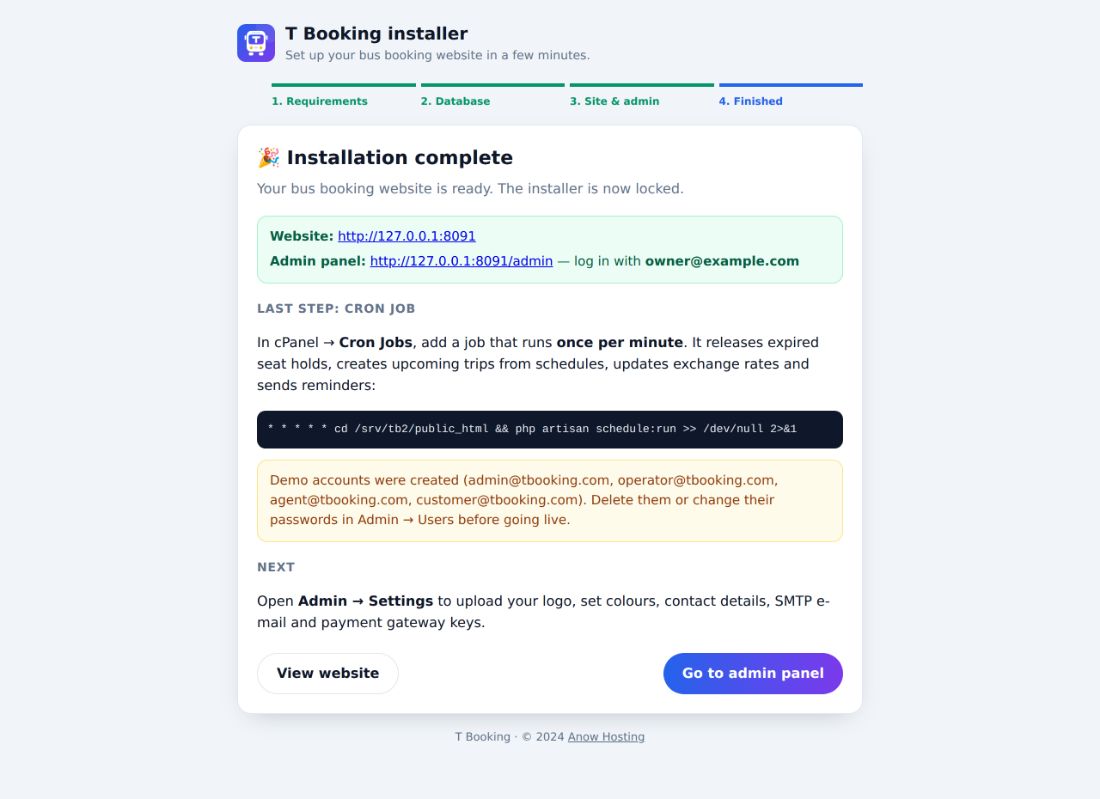
Step 4 — installation complete
6. Option B: import the SQL file (phpMyAdmin)
Use this if your host blocks the installer or you prefer phpMyAdmin.
- Import
cPanel → phpMyAdmin → select your database → Import → choosesql/tbooking-demo.sql(with demo data) orsql/tbooking-clean.sql(empty site) → Go. - Upload the files and select PHP 8.3 (parts 3 and 4).
- Connect
Open your domain → installer → Database step → choose Use my existing database → enter the database details → Test connection & continue. The installer writes.env, locks itself and opens your website. Nothing is deleted. - Log in at
/adminwithadmin@tbooking.com/Admin@123456and change the e-mail and password immediately (Admin → Users).
7. Add the cron job
The cron job releases expired seat holds, sends reminders, updates exchange rates and runs backups. cPanel → Cron Jobs → Once Per Minute (* * * * *) → command (replace cpuser and the folder with yours):
cd /home/cpuser/public_html && php artisan schedule:run >> /dev/null 2>&1If php is an old version on your server, use the full path of PHP 8.3, e.g. /usr/local/bin/ea-php83 or /opt/alt/php83/usr/bin/php (your host can tell you).
8. First steps in the admin panel
Log in at https://your-domain/admin. Then:
- Settings → General — site name, contact e-mail and phone, WhatsApp number, address, default language, currency and time zone.
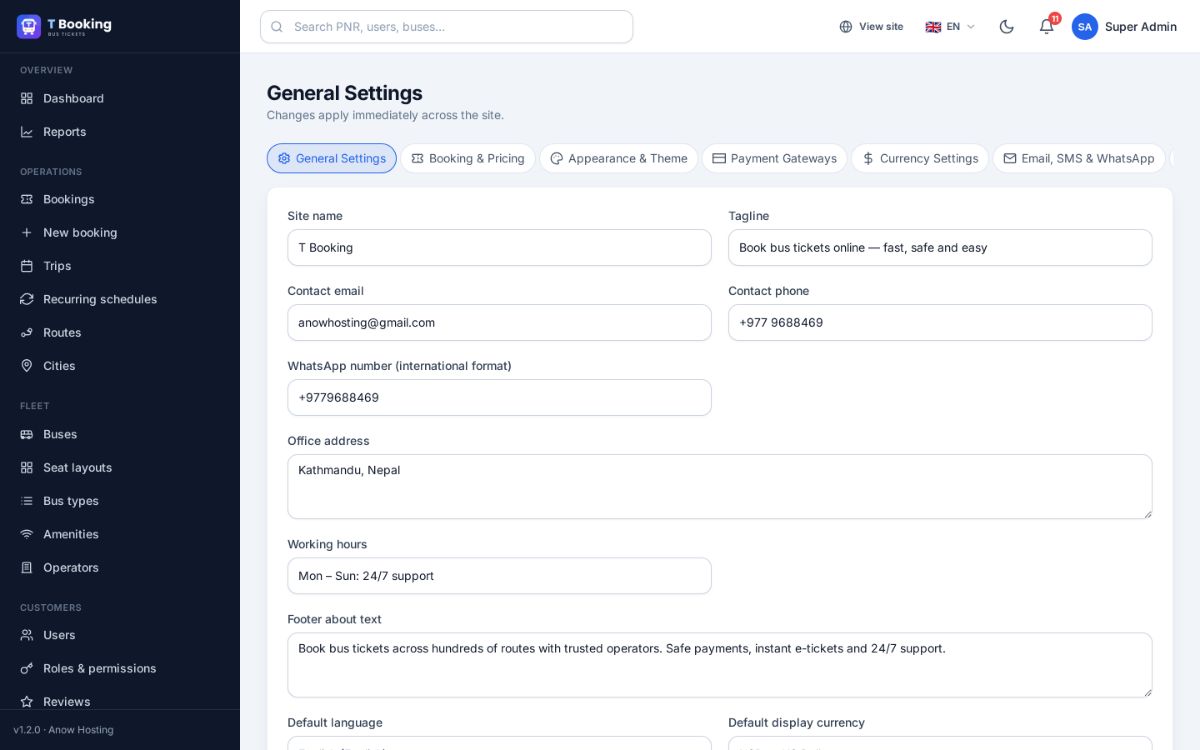
Admin → Settings → General - Settings → Appearance — your logo (light and dark), favicon, colours and font.
- Settings → Email, SMS & WhatsApp — choose SMTP and enter your mail server so customers receive their tickets.
- Settings → Payment gateways — enable Stripe, PayPal, Razorpay, PayHere and/or bank transfer.
- Operators, buses, routes, trips — add your own, or edit the demo data. Cities → Import cities adds all towns of a country at once.
- System → System health — shows the version and “Database is up to date”.
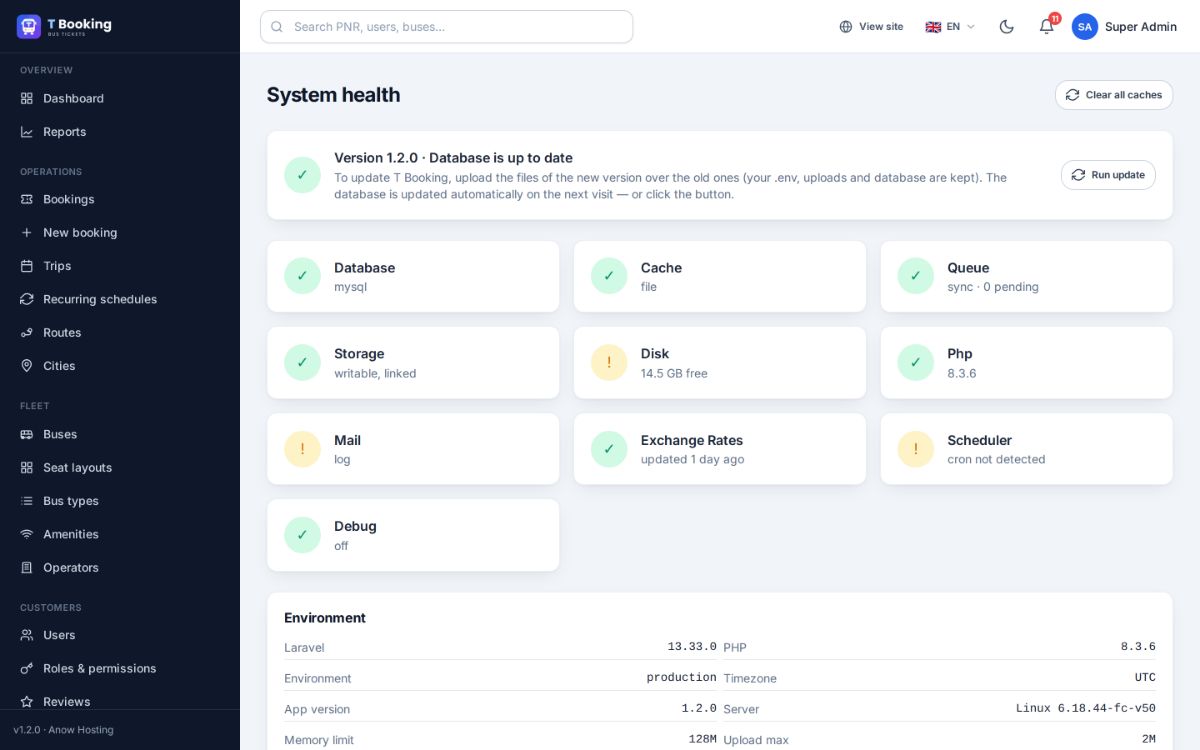
Admin → System → System health
9. Public demo mode
Running a demo for customers or a marketplace review? Add this line to .env (File Manager → edit):
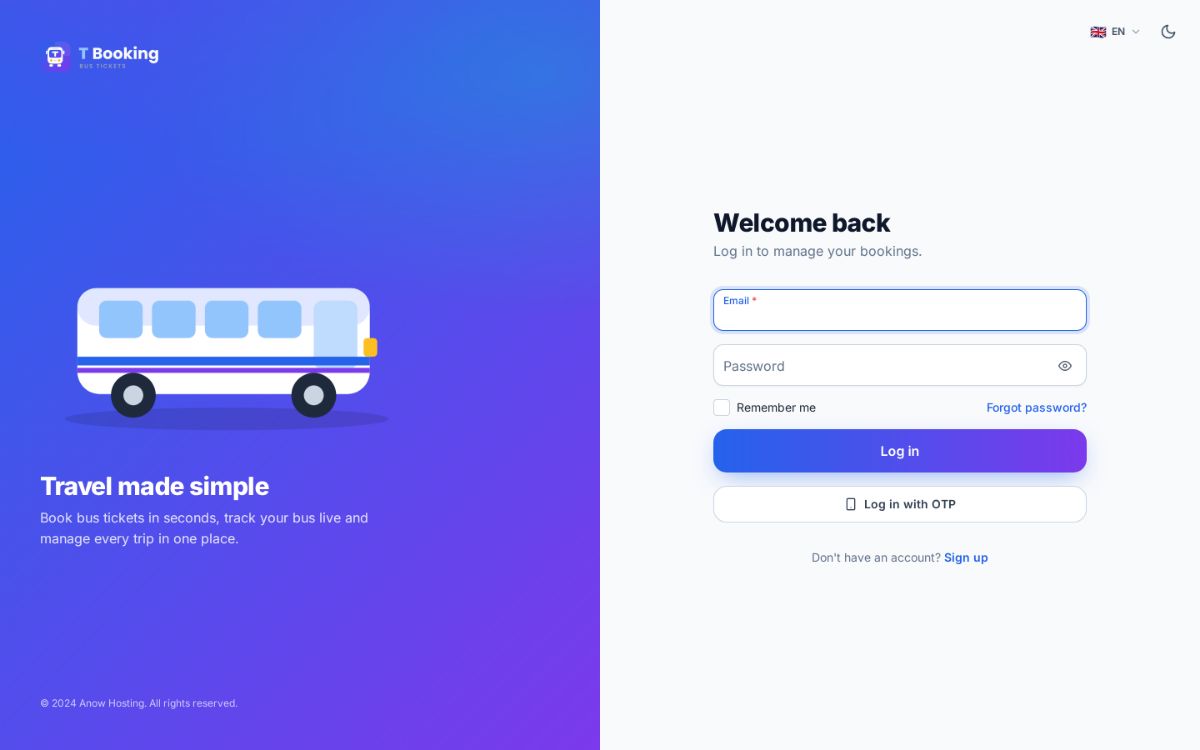
DEMO_MODE=trueVisitors can then log in with the demo accounts (shown on the login page), look at everything and even book tickets — but changes in the admin and operator panels, profile and password changes are not saved.
10. Updating to a new version
- Back up — Admin → System → Backups, or phpMyAdmin → Export.
- Upload the new
uploadcontents over the old files (Extract → overwrite). The package contains no.env, so your settings, uploads and database are kept. - Select PHP 8.3 again if needed (part 4).
- Open your website — the database updates itself on the first visit. System health confirms “Database is up to date”.
11. If something goes wrong
| You see | Do this |
|---|---|
| “PHP 8.3 or newer is required” | MultiPHP Manager → select PHP 8.3 for the domain again (part 4). |
| A folder list or 403 instead of the site | .htaccess was not uploaded — enable “Show Hidden Files” and upload it. |
| “Could not connect to the database” | Check the database name and username include the cPanel prefix, and that the user was added with ALL PRIVILEGES. |
| “This database already contains … tables” | Use an empty database, or tick “Delete all existing tables” to start fresh. |
| Error 500 | Set folder permissions: storage and bootstrap/cache to 775. Details are in storage/logs. |
| E-mails are not arriving | Settings → Email, SMS & WhatsApp: check the SMTP host, port, username and password (your host's mail settings), then book a test ticket. |
| Installer opens again after installing | Make sure .env contains APP_INSTALLED=true. |