1. The two apps
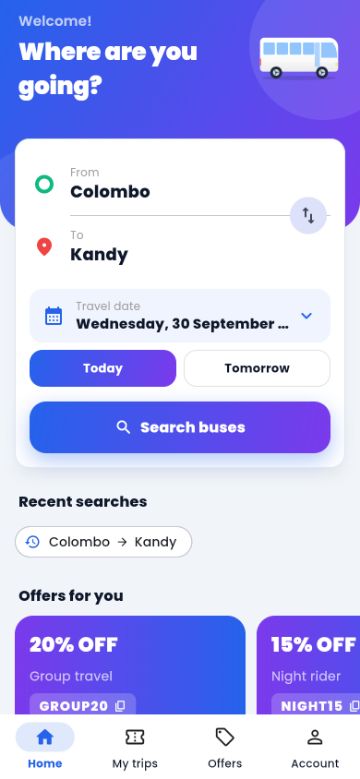
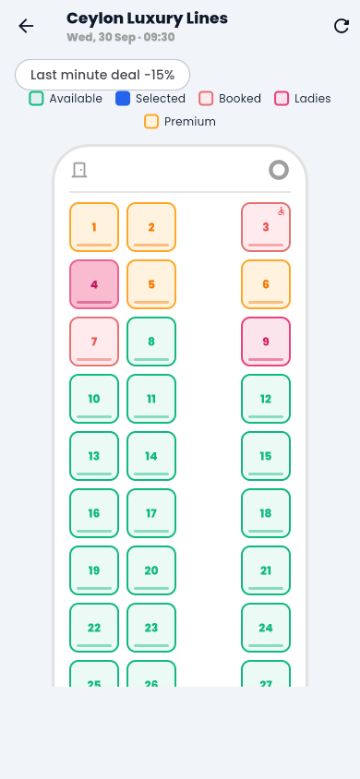
🎫 T Booking passengers
Search buses, pick seats, pay, QR ticket, live tracking, cancel & refund, reviews, wallet. Folder apps/tbooking.
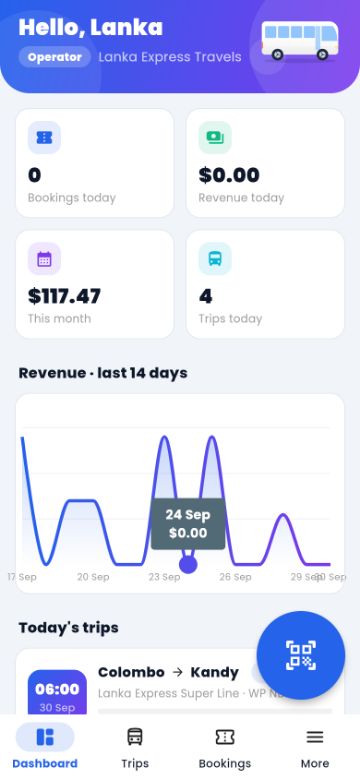
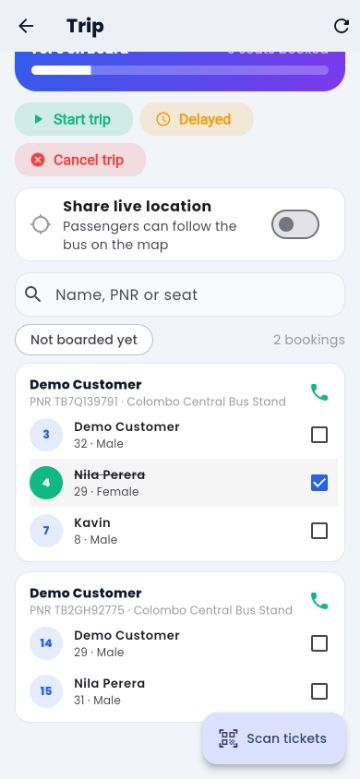
🚌 T Booking Business staff
For admins, operators and agents: dashboard, trips, manifest, QR ticket scanner, bus GPS, bookings, earnings. Folder apps/tbooking_business.
Both apps share one package with the API client, design and translations:
2. Install the tools (once)
- Flutter SDK
Download from docs.flutter.dev/get-started/install (choose your system → Android), unzip it (e.g.C:\src\flutteror~/flutter) and add itsbinfolder to your PATH. - Android Studio
Install from developer.android.com/studio. In the setup wizard accept the Android SDK. Then Settings → Plugins → install Flutter (Dart is added automatically) → restart. - Android licenses and check
Open a terminal (Command Prompt / Terminal) and run:
Press y to accept each license.flutter doctor --android-licenses flutter doctorflutter doctormust show a green tick for Flutter and Android toolchain (Xcode and Chrome are not needed for Android).
Prefer VS Code? Install the Flutter extension — Android Studio is still needed once for the Android SDK.
3. Open the project
- Copy the folder
Copymobile-appsfrom the download to a simple path without spaces, e.g.C:\projects\mobile-apps. - Open one app
Android Studio → File → Open → selectmobile-apps/apps/tbooking(the folder that containspubspec.yaml) → OK. Openapps/tbooking_businessthe same way in a second window when you build the business app. - Get the packages
Android Studio shows “Pub get” at the top ofpubspec.yaml— click it. Or in the Terminal tab at the bottom:flutter pub get
Open apps/tbooking, not apps/tbooking/android. Opening the android folder alone starts a plain Android project without Flutter.
4. Connect your website
Open packages/tb_core/lib/src/config.dart and put your website address (with https://, no slash at the end):
static const String defaultBaseUrl = 'https://booking.example.com';This one line is used by both apps. The website must run T Booking 1.2.0 or newer with SSL.
Alternatively pass it when building, without editing the file: --dart-define=API_BASE_URL=https://booking.example.com
5. Name, package ID and icon
App name
android/app/src/main/AndroidManifest.xml → android:label="T Booking" → your name.
Package ID (must be unique on Google Play)
android/app/build.gradle.kts → change applicationId, e.g.:
applicationId = "com.yourcompany.booking"            // passenger app
applicationId = "com.yourcompany.booking.business"   // business app
Choose it before the first upload — Google Play never allows changing it later.
Icon and launch screen
Replace the images in assets/icon/ with yours (same names and sizes: icon.png 1024×1024 without transparency, foreground.png and background.png 1024×1024 for Android's adaptive icon, splash.png 512×512), then run in the app folder:
dart run flutter_launcher_icons
dart run flutter_native_splash:create
Version
pubspec.yaml → version: 1.0.0+1. The number after + must go up with every Google Play upload (1.0.1+2, 1.0.2+3 …).
6. Run on your phone
- Developer options
On the phone: Settings → About phone → tap Build number 7 times. Then Settings → System → Developer options → turn on USB debugging. - Connect with USB and allow the computer on the phone.
- Run
Android Studio: choose your phone in the device list at the top → press ▶. Or:flutter run
No phone? Android Studio → Device Manager → create a virtual device (emulator).
7. Create your signing key (once)
Google Play needs every upload signed with the same key. Create it once and keep it safe (with a backup) — if you lose it you must ask Google to reset it.
Windows (in Command Prompt):
keytool -genkey -v -keystore C:\keys\upload-keystore.jks -keyalg RSA -keysize 2048 -validity 10000 -alias uploadmacOS / Linux:
keytool -genkey -v -keystore ~/keys/upload-keystore.jks -keyalg RSA -keysize 2048 -validity 10000 -alias uploadAnswer the questions and choose a password. keytool comes with Android Studio (…/Android Studio/jbr/bin) if the command is not found.
Then create the file android/key.properties inside the app folder (apps/tbooking/android/key.properties, and the same for the business app):
storeFile=C:/keys/upload-keystore.jks
storePassword=your-keystore-password
keyAlias=upload
keyPassword=your-key-password
The project is already set up to use this file for release builds. Without it, release builds are signed with a debug key (fine for testing, rejected by Google Play). Never share key.properties or the .jks file.
8. Build the APK and App Bundle
In the Terminal inside the app folder (apps/tbooking, then apps/tbooking_business):
APK — to install on phones directly
flutter build apk --releaseResult: build/app/outputs/flutter-apk/app-release.apk. Send it to a phone and open it (allow “Install unknown apps”).
App Bundle — for Google Play
flutter build appbundle --releaseResult: build/app/outputs/bundle/release/app-release.aab — this is the file you upload to Google Play.
Tip: Android Studio → Build → Flutter → Build APK / Build App Bundle does the same.
9. Publish on Google Play
- Developer account
Register at play.google.com/console (one-time fee). - Create app
App name, default language, App, Free. Accept the declarations. - Test first
Testing → Internal testing → Create new release → upload the.aab→ add testers (e-mail list) → roll out. Testers install it from the Play Store link. - App content (Policy → App content): privacy policy URL (your site's Privacy page), App access — give a demo login so Google can review, ads (No), content rating questionnaire, target audience (18+), Data safety (answers in
mobile-apps/README.md), and for the business app the location permission explanation. - Store listing
Short and full description, 512×512 icon, 1024×500 feature graphic and at least 2 phone screenshots. - Production
When testing is fine: Production → Create new release → upload → send for review.
Payments: bus tickets are a real-world service, so your own payment gateways are allowed — no Google Play billing needed. Account deletion is inside the app (Account → Delete account), as Google requires.
Business app: it is for your staff. Publish it the same way (it can also stay on a closed testing track), or just share the APK with your staff.
10. Optional: push notifications and Google sign-in
The apps work without these. Step-by-step instructions are in mobile-apps/README.md:
- Push notifications — create a Firebase project, run
flutterfire configurein each app folder, then paste the service account key in Admin → Settings → Mobile App & Feature Flags. - Google sign-in — needs the SHA-1 fingerprint of your key (
keytool -list -v -keystore upload-keystore.jks) and of the Play App Signing key (Play Console → Setup → App signing).
11. If something goes wrong
| Problem | Solution |
|---|---|
flutter is not recognised | Add flutter/bin to PATH and open a new terminal. |
| “The current Dart SDK version is …” / version solving failed | Update Flutter: flutter upgrade (3.47 or newer is needed). |
| Android licenses not accepted | flutter doctor --android-licenses |
| App opens but shows “Something went wrong” | Check the website address in config.dart, that it uses https:// and that the site is on 1.2.0 or newer. |
| Play Console: “signed in debug mode” | android/key.properties is missing or the path in storeFile is wrong. |
| Play Console: “version code already used” | Increase the number after + in pubspec.yaml. |
| Gradle errors after changing files | flutter clean then flutter pub get and build again. |